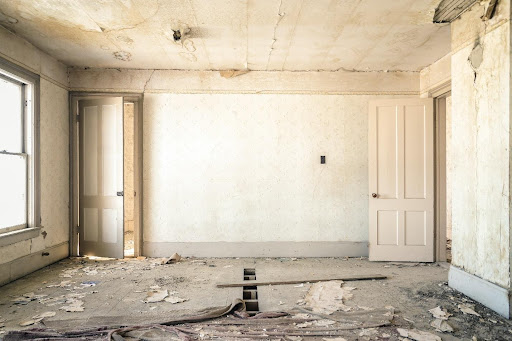
Ceiling Water Damage – What to Do?
 If one side of your ceiling appears to be darker than other sides, your house’s roof is constantly or from time to time dripping, your ceiling paint is bubbled or has unfamiliar cracks then it is a clear sign that you have ceiling water damage. It’s not only frustrating that now you have to address it, but also poses a plethora of threats that you should be informed of so that you know what to do about them.
Ceiling water damage may already be stressful and dangerous for you. But it can also damage ceilings and attics, promote the formation of harmful molds and mildews, create fragility in your structure, and cost you increased utility bills.
Here is what you need to do for resolving your ceiling water damage:
If you discover a ceiling leakage resulting from a light fitting in your house, you’ll want to take the required steps to protect yourself and your family from any potential damages and risks. If you decide to undertake these assessments on your own, please remember that you must proceed with extreme care and assurance to handle the problem efficiently and ensure this issue is resolved once and for all.
If you prefer not to take these actions alone or would like an expert’s advice or need a professional water damage restoration service to do the job, 911 Restoration of Carson City is available 24/7 to assist you in ensuring that you and your family are secure.
Turn Off the Power Supply
To begin, make sure you switch off the room’s power where you are fixing the ceiling leaks. You need to turn it off by switching off the electricity from the main panel of your house and not simply just switching off the light of that single ceiling light. This will protect you from unfortunate electric shocks and any other power failures.
Secure the Damaged Area to Start
Start with stabilizing the area surrounding the ceiling leaks. Remove any valuable items from the area. After that, use a bucket and sheet to collect and absorb all the water accumulated below the ceiling. Most likely, your ceiling is made of drywall that can easily absorb or scatter the water.
So, only worry about managing the area from where the water enters your ceiling. Pierce a tiny hole in the middle of the leakage with a screwdriver, or any other long sharp item, allowing the water to travel through that limited space and into the bucket.
Locate the Source of Your Ceiling Leaks
The next step is to locate and fix the source of your ceiling leaks. Water can spread to a great distance from the source of its leak, especially ceiling leaks can be challenging to locate. Even in what appears to be a specific circumstance, such as when a restroom is just above the stain, there can be several alternative water leakage sources. It might be due to a broken drain, a faulty supply line, or a lack of caulk.
It might be due to a broken drain, a faulty supply line, or a lack of caulk. Finding the actual source of ceiling leaks can be challenging, so we suggest you cut in the ceiling to identify the source of ceiling water damage. If you still cannot find the source, go with the tried and tested method of putting toilet paper or sheets on the pipeline joints and ceiling beams. It will clearly show you the water leakage and reduce your time and effort for searching.
Completely Dry the Damaged Area
Allow all the damaged items to dry completely while fixing the source of your ceiling leaks. This procedure is exceptionally important if you have a hollow ceiling from inside or have a cavity between itself and the roof.
There is a possibility that moisture from ceiling water damage will get trapped beneath the ceiling’s drywall, resulting in mold growth. A minor leakage might dry up by itself, but if you face larger ceiling leaks, it’s typically preferable to cut open a part of your ceiling and use a fan or blow dryer to dry it completely.
Repair or Replace Your Ceiling
Based on the severity of your ceiling leaks, this might be as simple as a touch-up with spackle before applying paint, or it could involve rebuilding and painting the whole ceiling. Remember that it’s frequently quicker just to remove defective drywall and replace it with dry material.
This usually uncovers ceiling beams, making it simpler to install patches. That’s the same with painting; in the event of a significant leakage, it’s generally better to inlay fresh paint into a broader area or perhaps paint the entire ceiling.
Final Thoughts
It may be risky and challenging to repair ceiling water damage, especially if it is near a ceiling light. This is why we recommend you hire a competent electrician and water damage restoration service like 911 Restoration of Carson City to ensure that your ceiling leaks are correctly repaired. Our team has experts who have successfully handled such situations and assure your safe return to home.


